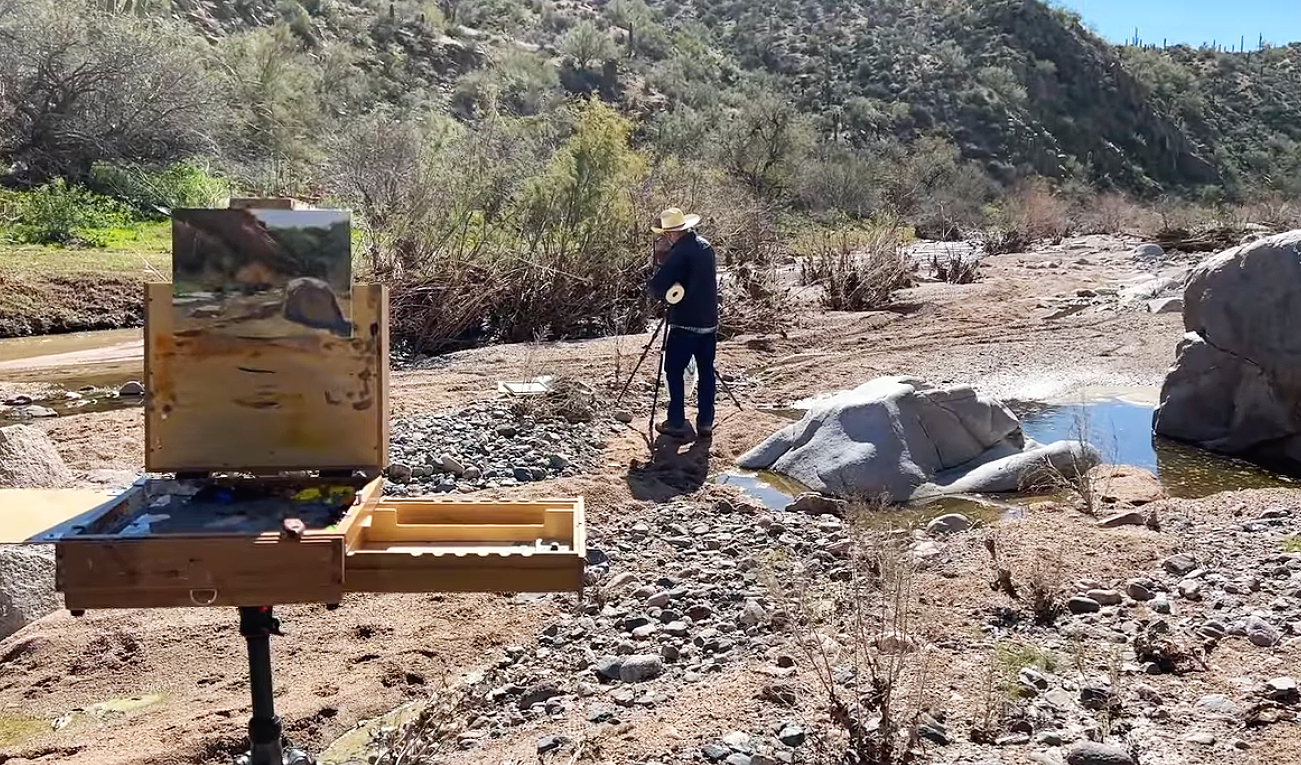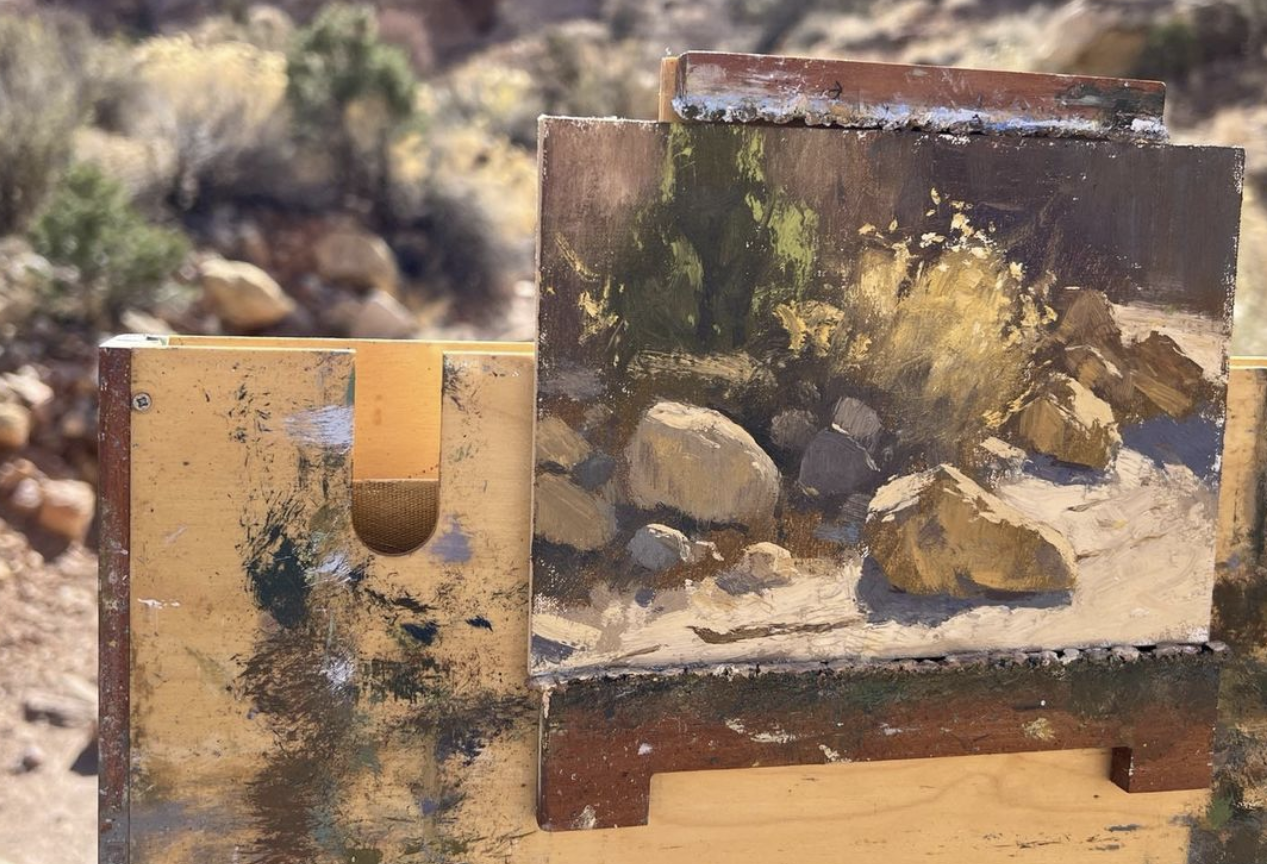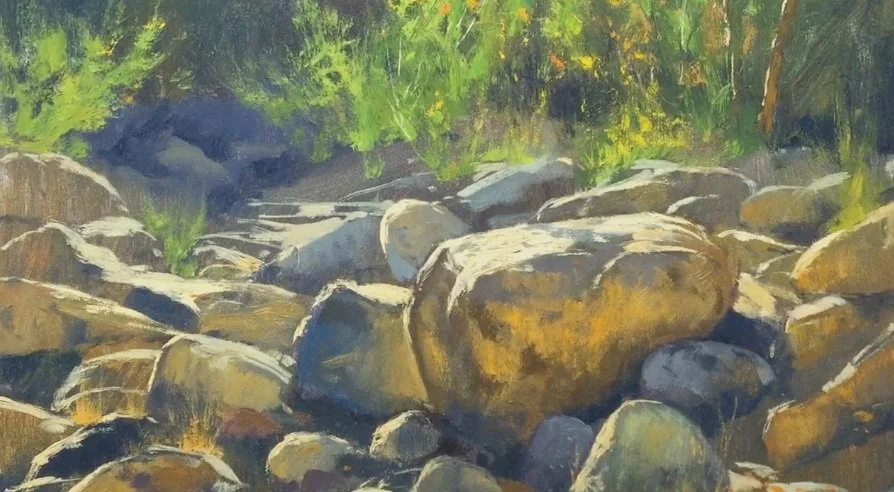
In this rock painting, I painted the larger dark mass through the areas that would later receive highlights. Then I placed the smaller lights on top, instead of painting around every light shape from the beginning.
Decide which area dominates
Squinting at this pile of rocks helps me separate the scene into darks and lights. Here the darker area dominates, while the light is a smaller part. That is why I chose the dark mass as my starting point.
I blocked in that area with variations of warm and cool color, keeping the values fairly close overall. I knew the major shapes, but I did not stop the dark paint at each future highlight boundary.
Lay the smaller lights over it
About halfway through, I began applying thicker, lighter paint over the darks. I loaded the brush, laid the paint down and tried to leave it alone, rather than disturbing the wet passage underneath.
Most of this painting was worked wet into wet. I explain that, if I wanted a harder edge in a passage, I could wait for the paint to set up before adding more light. The sequence here follows this particular subject: the larger dark area first, with the smaller lights placed over it.
Continue with How to Get Around Detail and The Importance of Values.